A broken laptop hinge can be frustrating. It makes your device hard to use and may lead to further damage. But don’t worry – fixing a laptop hinge is often easier than you think.
Many laptop hinge issues can be repaired at home with basic tools and a bit of patience. Common problems include loose screws, cracked plastic, or worn-out metal parts. By identifying the exact issue, you can take the right steps to fix it.
Before starting any repair, it’s smart to check if your laptop is still under warranty. If it is, the manufacturer may fix it for free. For older laptops, a DIY fix can save money compared to buying a new device. With the right approach, you can get your laptop working smoothly again.
Laptop hinges can loosen or break over time, leading to a wobbly screen or even damage to the display. While a professional repair is always an option, here are some quick and easy DIY solutions you can try:
1. Tighten the Screws
- What you’ll need: A small screwdriver that fits the screws on your laptop hinge (usually a Phillips head).
- How to do it:
- Carefully examine the hinge area for any loose screws.
- Gently tighten any loose screws you find. Be careful not to overtighten, as this could strip the screw or damage the hinge.
2. Use Epoxy

- What you’ll need: Two-part epoxy adhesive, a toothpick or small tool for applying the epoxy.
- How to do it:
- This method is helpful if the hinge itself is cracked or broken.
- Clean the damaged area with alcohol to remove any grease or debris.
- Mix the epoxy according to the instructions on the package.
- Carefully apply the epoxy to the broken parts of the hinge.
- Hold the hinge in place until the epoxy sets (this usually takes a few hours).
3. Replace the Hinge
- What you’ll need: A replacement hinge (you can find these online or at a computer repair shop), a small screwdriver set.
- How to do it:
- This is a more advanced solution, but it can be done with some patience and the right tools.
- Look for online tutorials or videos specific to your laptop model.
- Carefully disassemble the laptop case to access the hinges.
- Remove the old hinge and replace it with the new one.
- Reassemble the laptop case.
Important Notes:
- Safety First: Before attempting any repair, make sure your laptop is unplugged and the battery is removed.
- Warranty: DIY repairs may void your laptop’s warranty.
- Know Your Limits: If you’re not comfortable with disassembling your laptop or the damage is extensive, it’s best to seek professional help.
Preventative Measures:
- Handle with Care: Be gentle when opening and closing your laptop.
- Avoid Excessive Force: Don’t force the screen beyond its natural range of motion.
- Support the Screen: When adjusting the screen angle, use one hand to support the base of the laptop.
If you have any doubts or concerns, it’s always best to consult a professional. However, these quick and easy DIY solutions can often help fix minor hinge problems and keep your laptop in good working order.
Understanding Laptop Hinge Mechanics
Laptop hinges are key parts that let screens open and close. They need to be strong and flexible to work well over time.
Types of Laptop Hinges
Most laptops use friction hinges. These have metal parts that rub together to hold the screen in place. The friction can be adjusted to make the hinge tighter or looser.
Some laptops have dual hinges. These are on both sides of the screen. They give more support and can last longer than single hinges.
Torque hinges are another type. They use special springs to control how the screen moves. This helps the screen stay in place at any angle.
Common Issues with Laptop Hinges
Broken hinges are a frequent problem. This can happen if the laptop is dropped or opened too hard. Signs of broken hinges include:
- Loose or wobbly screen
- Cracking sounds when opening the laptop
- Screen not staying in place
Wear and tear is another issue. Over time, hinges can get loose or stiff. This makes it hard to open and close the laptop smoothly.
Dirt and dust can also cause problems. They can get inside the hinge and make it stick. Regular cleaning can help prevent this.
Some laptops have weak hinge designs. This can lead to early breakage, even with normal use. It’s good to research hinge quality before buying a new laptop.
Preparing for Hinge Repair
Before starting a laptop hinge repair, it’s important to get ready. This involves collecting the right tools and taking safety steps. Here’s what you need to know:
Gathering the Necessary Tools
To fix a laptop hinge, you’ll need some basic tools:
- Small screwdrivers (Phillips and flathead)
- Tweezers
- Plastic pry tool
- Epoxy glue
- Clean cloth
- Isopropyl alcohol
Epoxy glue is often used for laptop hinge repairs. It’s strong and works well for this job.
You might also need:
- Replacement screws
- New hinges (if the old ones are broken)
Keep these tools organized and within reach. This will make the repair process smoother.
Safety Precautions Before Starting the Repair
Safety is key when fixing a laptop hinge. Here are some important steps to take:
- Turn off the laptop and unplug it.
- Remove the battery if possible.
- Work in a well-lit, clean area.
- Use an anti-static wrist strap to protect sensitive parts.
- Take pictures of each step for easy reassembly.
Be gentle when handling laptop parts. They can be fragile. If you’re not sure about something, look up a video guide for your laptop model.
Always read the laptop’s manual before starting. Some laptops have special steps for opening them. Taking care now will help avoid bigger problems later.
Step-by-Step Hinge Repair Process
Fixing a broken laptop hinge involves careful disassembly, repair or replacement, and reassembly. This process requires attention to detail and the right tools to avoid damaging other components.
Dismantling the Laptop Lid
Start by unplugging the laptop and removing the battery. Locate and remove all screws holding the lid in place. These are often found under rubber feet or stickers. Gently pry open the bezel around the screen using a plastic spudger tool.
Disconnect the display cable from the motherboard. This cable is usually found near the hinge area. Be careful not to damage it as you unplug it. Remove any remaining screws securing the lid to the base.
Carefully separate the lid from the base. Take note of how components fit together for easier reassembly later. Place all screws in labeled bags to keep track of their positions.
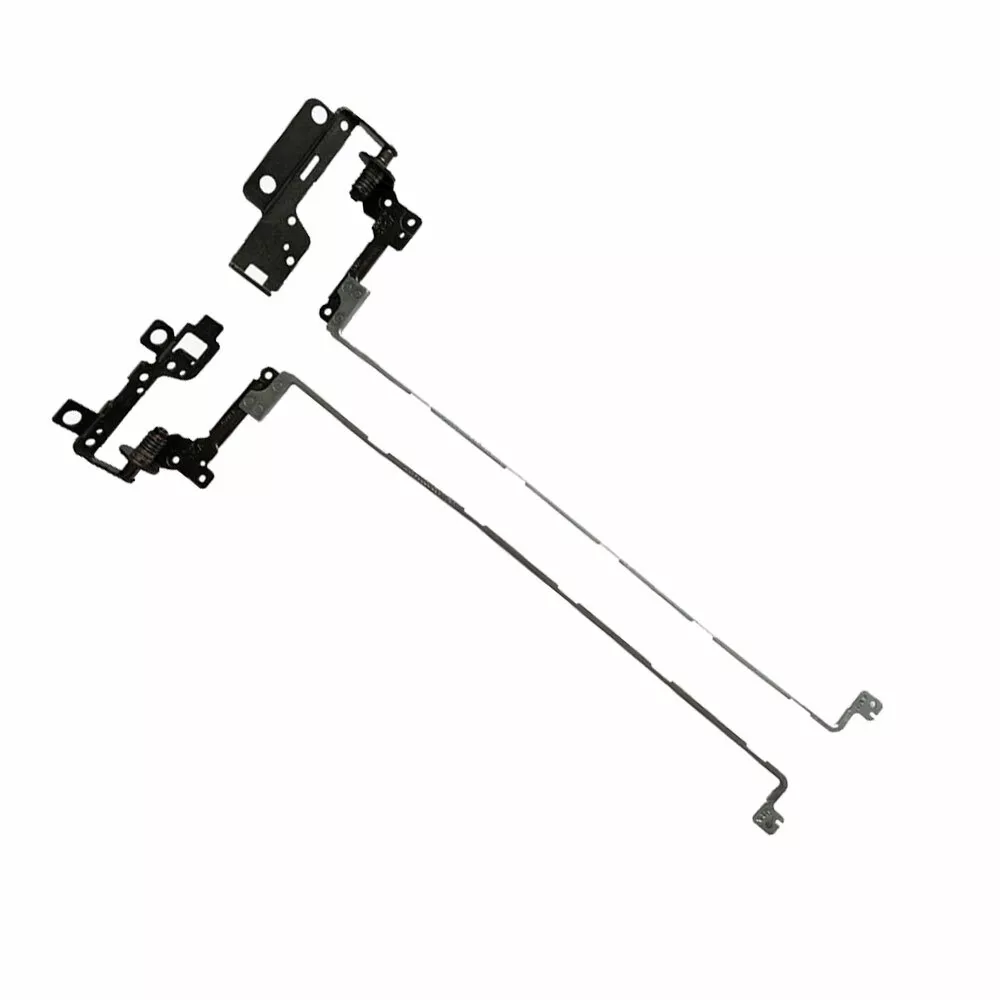
Replacing or Repairing the Hinge
Examine the broken hinge closely. If it’s cracked or bent, replacement is often the best option. Order a matching hinge set for your laptop model. If the hinge mount is loose, you may be able to tighten it with strong adhesive.
To replace the hinge, remove any screws holding it in place. Lift out the old hinge and insert the new one. Make sure it’s properly aligned before tightening the screws. If repairing, clean the area and apply epoxy or strong glue to secure loose parts.
Test the hinge movement before reassembling. It should move smoothly without resistance. Allow any adhesives to dry fully before continuing.
Reassembling the Laptop
Begin reassembly by reconnecting the display cable to the motherboard. Carefully align the lid with the base and reattach it using the screws you removed earlier. Make sure the hinge moves freely and doesn’t pinch any cables.
Replace the bezel around the screen, snapping it into place. Double-check that all cables are properly connected and not pinched. Reattach any covers or panels you removed during disassembly.
Finally, replace all external screws and covers. Insert the battery and power on the laptop to test the display and hinge function. If everything works correctly, your laptop hinge repair is complete.
Post-Repair Considerations
After fixing laptop hinges, it’s crucial to check their function and maintain them properly. This helps prevent future issues and ensures your repair lasts.
Testing the Hinge Functionality
Once you’ve repaired your laptop hinges, test them thoroughly. Open and close the laptop several times. The movement should be smooth without any sticking or grinding.
Check if the screen stays in place at different angles. It shouldn’t fall or move on its own. Listen for any unusual sounds like creaking or clicking.
Make sure the screen aligns properly when closed. There shouldn’t be any gaps between the screen and keyboard. Test all ports and connections near the hinge area. Ensure the repair didn’t affect nearby components.
If you notice any problems, adjust the repair as needed. Don’t force anything if it doesn’t feel right.
Maintaining Hinges Post-Repair
Regular maintenance helps keep laptop hinges in good condition. Clean the hinge area often with a soft, dry cloth. Remove dust and debris that could cause wear.
Avoid opening the laptop from one corner. Use both hands and lift from the center. This spreads the force evenly across the hinges.
When moving the laptop, close it first. Don’t carry it by the screen with the hinge open. Store the laptop in a padded case for extra protection.
Apply a small amount of silicone lubricant to the hinges every few months. This keeps them moving smoothly. Be careful not to get any on other parts.
If you notice any looseness or hear odd noises, address them quickly. Small issues can become big problems if ignored.
Frequently Asked Questions
Laptop hinge repair involves various methods and considerations. Costs, tools, and expertise required can differ based on the repair approach chosen.
What are common methods for repairing a broken laptop hinge?
Common repair methods include gluing cracked plastic housings, replacing damaged hinges, and reinforcing weak points. Some fixes may need disassembly of the laptop. Professional technicians often have specialized tools for complex repairs.
Can I repair a laptop hinge myself, and if so, what do I need?
DIY laptop hinge repair is possible for minor issues. Basic tools like screwdrivers, pliers, and strong adhesives are often needed. Superglue can fix small cracks in plastic parts. More serious damage may require replacement parts and technical skills.
How much does a professional laptop hinge repair typically cost?
Professional repair costs vary based on the laptop model and extent of damage. Prices can range from $50 to $200 or more. Complex repairs or part replacements tend to be more expensive. Getting quotes from multiple repair shops is advisable.
Are there specific adhesives recommended for fixing laptop hinges?
Strong, fast-drying adhesives work best for hinge repairs. Superglue and epoxy are common choices. Some repair guides suggest specialized plastic bonding agents. The right adhesive depends on the materials being joined.
What is the average lifespan of a laptop hinge after repair?
A well-repaired hinge can last for years with proper care. DIY fixes may have shorter lifespans than professional repairs. Careful handling of the laptop after repair helps extend the hinge’s life.
How do I find a reliable service center for laptop hinge repair?
Look for repair shops with good reviews and experience with your laptop brand. Authorized service centers often have access to original parts. Local computer stores may offer repairs at competitive prices. Compare DIY and professional options to make an informed choice.