Opening an Xbox Series S can be a useful skill for cleaning or repairs. To open an Xbox Series S, start by removing the plastic case, which can be done by gently pulling the bottom-rear corners apart and sliding the back panel towards the bottom of the device. This process allows access to the inside of the console for maintenance tasks.
The Xbox Series S, Microsoft’s compact gaming console, has a design that makes it fairly easy to disassemble. Regular cleaning can help keep the system running smoothly and prevent overheating issues. Many gamers choose to open their consoles to clean out dust or replace thermal paste.
Before opening the Xbox Series S, gather the needed tools and work in a clean, well-lit area. It’s important to handle the components with care to avoid damage. Remember that opening the console may void the warranty, so proceed with caution and consider seeking professional help if unsure about any steps.
It’s generally not recommended to open your Xbox Series S yourself, especially if it’s still under warranty. Opening the console can void your warranty and potentially damage the device if you’re not careful.
However, if you’re determined to open it (perhaps for repairs or modifications outside of warranty), here’s a general overview of the process and some important considerations:
What You’ll Need:
- T8 Torx Security Screwdriver: This is the specific type of screwdriver needed to remove the Xbox Series S’s screws.
- Plastic Prying Tool: A plastic spudger or opening tool is helpful for gently prying apart the console’s casing without damaging it.
- Anti-Static Wrist Strap: This helps prevent static electricity from damaging the console’s sensitive components.
- Clean Workspace: Work in a clean, well-lit area to avoid introducing dust or debris into the console.
General Steps:
- Power Off and Unplug: Completely power off your Xbox Series S and unplug it from the power outlet.
- Remove the Stand: If you have the stand attached, remove it from the console.
- Locate the Screws: There are several T8 Torx Security screws located on the back and sides of the console. Some might be hidden under warranty stickers or rubber feet.
- Remove the Screws: Carefully remove all the screws using the T8 Torx Security screwdriver.
- Separate the Casing: Gently pry apart the casing using the plastic prying tool. Start from the back or sides and work your way around.
- Access the Internals: Once the casing is separated, you’ll have access to the internal components of the Xbox Series S.
Important Considerations:
- Warranty: Opening your Xbox Series S will likely void your warranty. Proceed only if you’re comfortable with this risk.
- Static Electricity: Use an anti-static wrist strap to prevent static discharge from damaging the console’s electronics.
- Technical Knowledge: Disassembling and reassembling the console requires some technical knowledge. If you’re not confident in your abilities, it’s best to seek professional help.
- Safety: Be cautious when handling internal components. Some parts may be sharp or hot.
Alternatives:
- Contact Microsoft Support: If you’re experiencing issues with your Xbox Series S, contact Microsoft support first. They might be able to offer troubleshooting steps or repair options.
- Authorized Repair Centers: If your console needs repair, consider taking it to an authorized repair center. They have the expertise and tools to fix the console safely.
Disclaimer: This information is for general knowledge only. Opening your Xbox Series S yourself is at your own risk. We are not responsible for any damage or issues that may occur.
Preparing for the Teardown
Opening an Xbox Series S requires careful planning and the right tools. Safety is key when working with electronics.
Required Tools
To open an Xbox Series S, you’ll need specific tools. A T8 Torx driver is essential for removing most screws. A T10 Torx driver may also be needed for some parts.
Tweezers are helpful for handling small components. They let you grip tiny screws and connectors without damaging them.
A plastic pry tool can help separate parts gently. It’s safer than metal tools that might scratch or dent the console.
An anti-static wrist strap is wise to use. It protects sensitive electronics from static discharge.
Keep a small container nearby to store screws. This prevents losing them during disassembly.
Safety Precautions
Always unplug the Xbox Series S before opening it. This prevents electric shock and protects the console’s parts.
Work in a clean, well-lit area. Good lighting helps you see small parts clearly.
Avoid working on carpets. They can create static electricity.
Handle the console with care. Rough movements might damage internal components.
Keep track of each screw and where it came from. Different screws may look similar but have specific places.
Take photos as you go. They can help you remember how to put everything back together.
If you’re unsure about a step, stop and seek help. Forcing parts can break them.
Disassembling the Xbox Series S
Disassembling the Xbox Series S requires careful steps and the right tools. The process involves removing the back panel, opening the chassis, and detaching inner components.
Removing the Back Panel
To start, unplug all cables from the Xbox Series S. Place the console on a clean, flat surface. Locate the five screws on the back panel using a T8 Torx screwdriver. Remove these screws and set them aside.
Gently lift the back panel away from the console. It may be tight, so use caution. Look for any clips that might still be holding it in place. Once removed, set the back panel aside in a safe spot.
Opening the Chassis
With the back panel off, you’ll see the inner chassis. Find the screws holding the top and bottom halves together. Use the T8 Torx screwdriver to remove these screws.
Carefully separate the top and bottom halves of the chassis. Be mindful of any cables or connections between the two parts. Slowly lift the top half to reveal the internal components.
Detaching the Inner Components
Inside, you’ll find the main board, fan assembly, and heat sink. To remove the fan, unplug its cable from the main board. Then, unscrew the fan from its mount.
For the heat sink, locate and remove the screws holding it in place. Gently lift it away from the main board. Be careful, as thermal paste may create some resistance.
The main board is held by several screws. Remove these and any connected cables. Lift the board out carefully to avoid damaging any components.
Remember to keep all screws organized. This will make reassembly easier. Handle all parts with care to prevent damage.
Exploring Internal Components
The Xbox Series S contains several key internal components that contribute to its performance. These include the power supply unit, motherboard, memory, and storage.
Assessing the Power Supply Unit
The Xbox Series S uses a 165W power supply that slots directly into the PCB without screws. This design makes it easy to replace if needed. The compact power supply helps keep the console’s overall size small while still providing enough power for gaming.
The unit is efficient and generates less heat than previous Xbox models. This allows for a quieter cooling system. Users should avoid blocking the vents around the power supply to ensure proper airflow.
Examining the Motherboard
The Xbox Series S motherboard houses the main components in a compact layout. At its center is the custom AMD processor that handles both CPU and GPU functions. This single-chip design helps reduce size and power use.
Key features on the motherboard include:
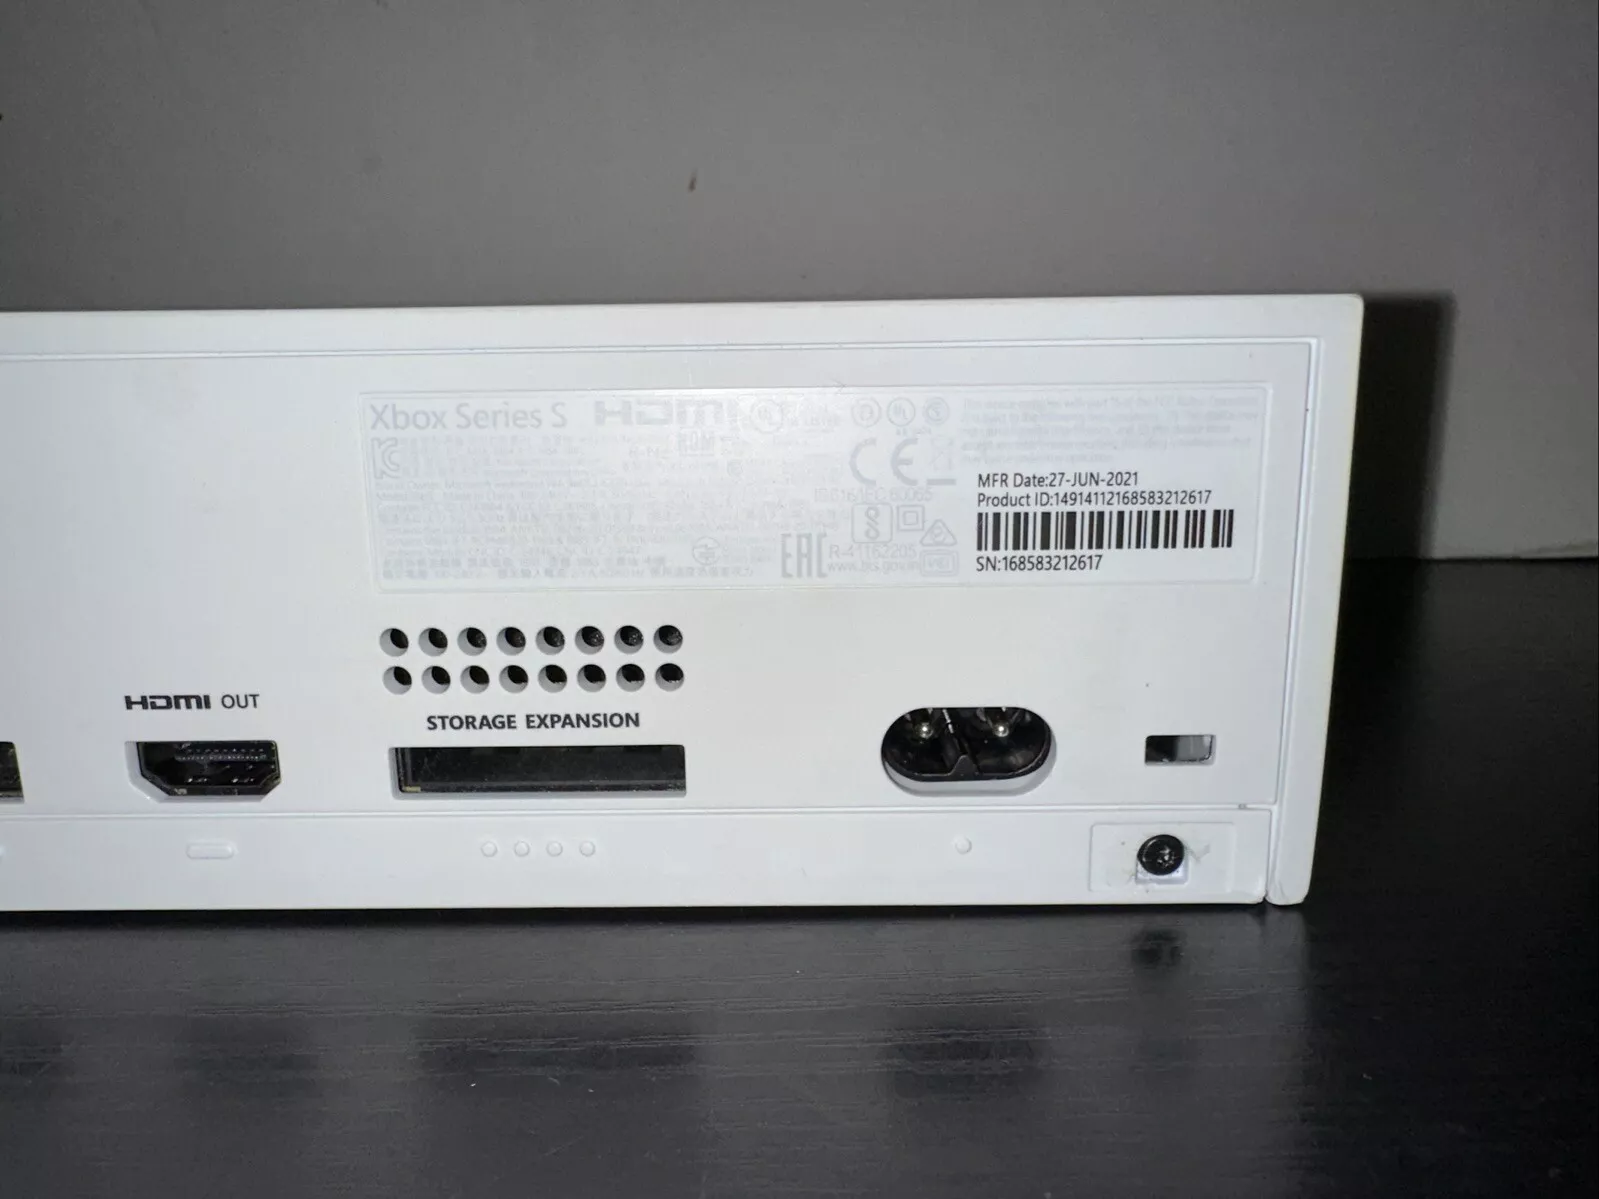
- HDMI 2.1 port for 4K output
- USB ports for controllers and accessories
- Wi-Fi and ethernet connections
- Voltage regulators for stable power delivery
The board’s layout allows for good airflow across heat-generating parts.
Evaluating Memory and Storage
The Xbox Series S comes with 10GB of GDDR6 RAM. This fast memory helps games load quickly and run smoothly. The console also includes a 512GB NVMe SSD for storage. This solid-state drive offers much faster load times than traditional hard drives.
Users can expand storage with the rear expansion slot. This accepts official Xbox expansion cards to add more high-speed storage. The internal SSD can be replaced, but it requires some technical skill.
Both the RAM and SSD contribute greatly to the system’s snappy performance in games and apps. Their compact size helps keep the overall console small.
Comparative Analysis and Reassembly
The Xbox Series S differs from other models in size and specs. Putting it back together requires care and attention to detail.
Comparing Xbox Series S with Other Models
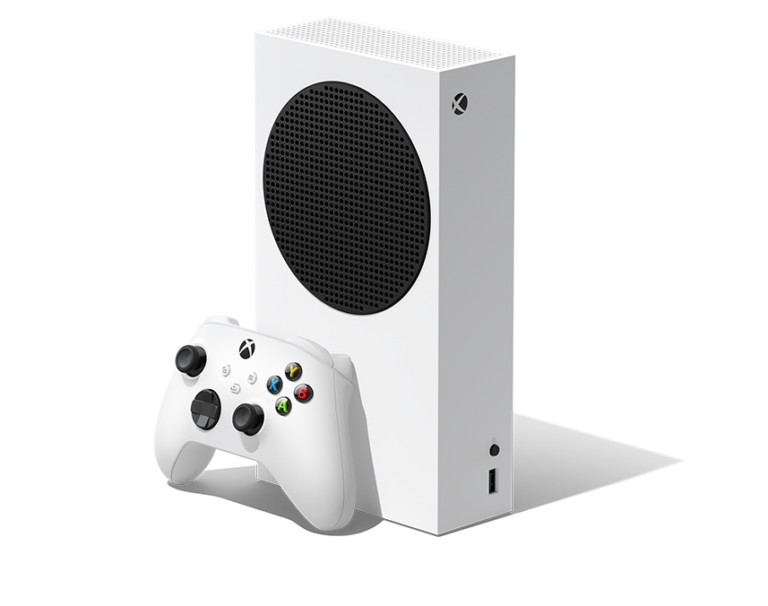
The Xbox Series S is smaller than the Xbox Series X and Xbox One. It measures just 10.8 x 5.9 x 2.5 inches. This compact size makes it easy to fit in tight spaces.
The Series S has less power than the Series X. It targets 1440p resolution instead of 4K. But it still offers fast load times and smooth gameplay.
The form factor of the Series S is unique. It has a large circular vent on top. This helps keep the console cool during use.
The controller is similar to older Xbox models. It has an improved D-pad and textured grips. The bumpers are also more responsive.
Reassembling Procedures
Putting the Xbox Series S back together is not too hard. Start by reconnecting the power supply unit. Make sure it clicks into place.
Next, reattach the motherboard. Line up the screw holes carefully. Use the right screws for each spot.
Replace the fan and heat sink. Apply new thermal paste if needed. This helps keep the console cool.
Snap the outer shell back on. Be gentle to avoid breaking any clips. Double-check that all ports line up correctly.
Finally, test the console to make sure everything works. Turn it on and run a game or app. If there are issues, open it up and check the connections again.
Frequently Asked Questions
Opening an Xbox Series S requires specific tools and methods. Safety and warranty considerations are important when accessing internal components or cleaning the console.
What tools are required to safely disassemble an Xbox Series S for cleaning?
To open an Xbox Series S, you’ll need a T8 Torx screwdriver, plastic pry tools, and an anti-static wristband. A can of compressed air is useful for cleaning. These tools help prevent damage to the console during disassembly.
What are the steps to access the internal components of an Xbox Series S?
First, unplug the console and remove the base stand. Next, remove the outer casing screws. Carefully lift the top panel using plastic pry tools. Disconnect the fan cable and remove the fan assembly. This exposes the main board and other internal parts.
How can I clean the fan of an Xbox Series S without disassembling the console?
Use compressed air to blow dust out of the vents. Hold the can upright and spray in short bursts. Vacuum the area around the console to catch expelled dust. This method helps maintain airflow without opening the device.
Is it possible to open an Xbox Series S controller, and how?
Yes, it’s possible to open the controller. Remove the battery pack and the screws under it. Carefully pry apart the controller halves. Be gentle to avoid damaging internal components or breaking plastic clips.
What precautions should be taken to maintain the warranty when opening an Xbox Series S?
Opening the Xbox Series S may void the warranty. Check warranty terms before proceeding. If possible, have a professional perform repairs or cleaning. Keep all screws and parts organized for reassembly.
Are there any official guides or resources for performing a teardown of an Xbox Series S?
Microsoft doesn’t provide official teardown guides. However, reputable repair sites offer step-by-step instructions. These guides include detailed photos and part information for safe disassembly and repair.